

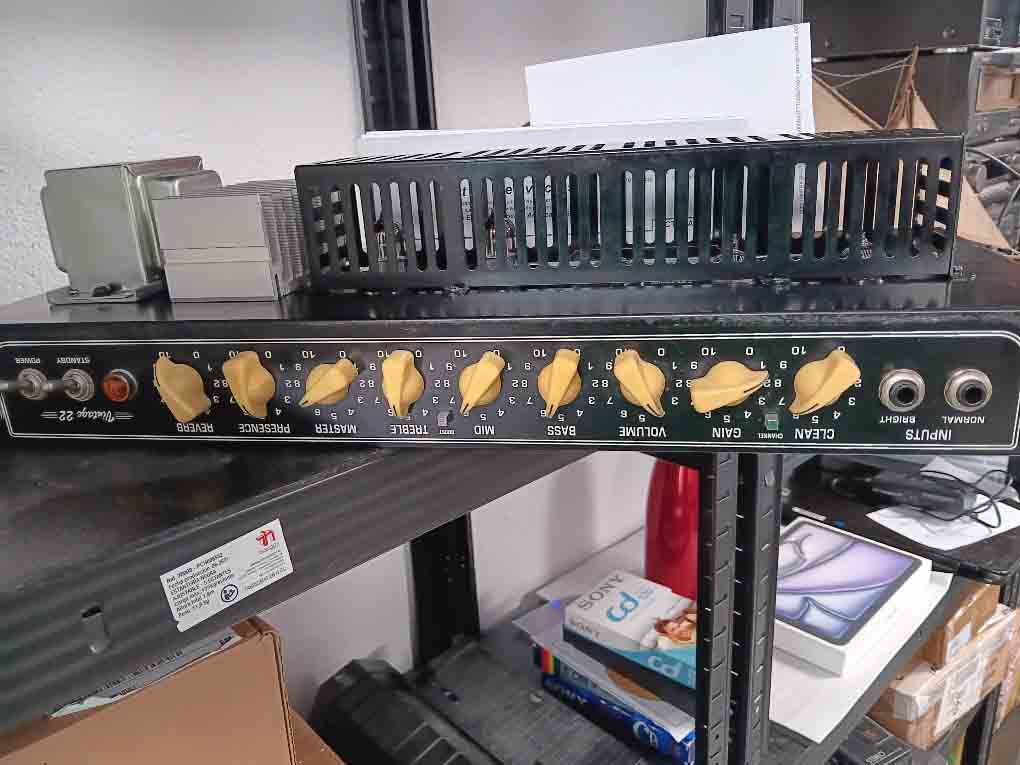
Bugera Vintage 22
A warning to the uninitiated!
This little amp had my underwear in a tangle. It came in with a report of making a nasty noise accompanied by a smell of burning. Apart from that, it was all good.
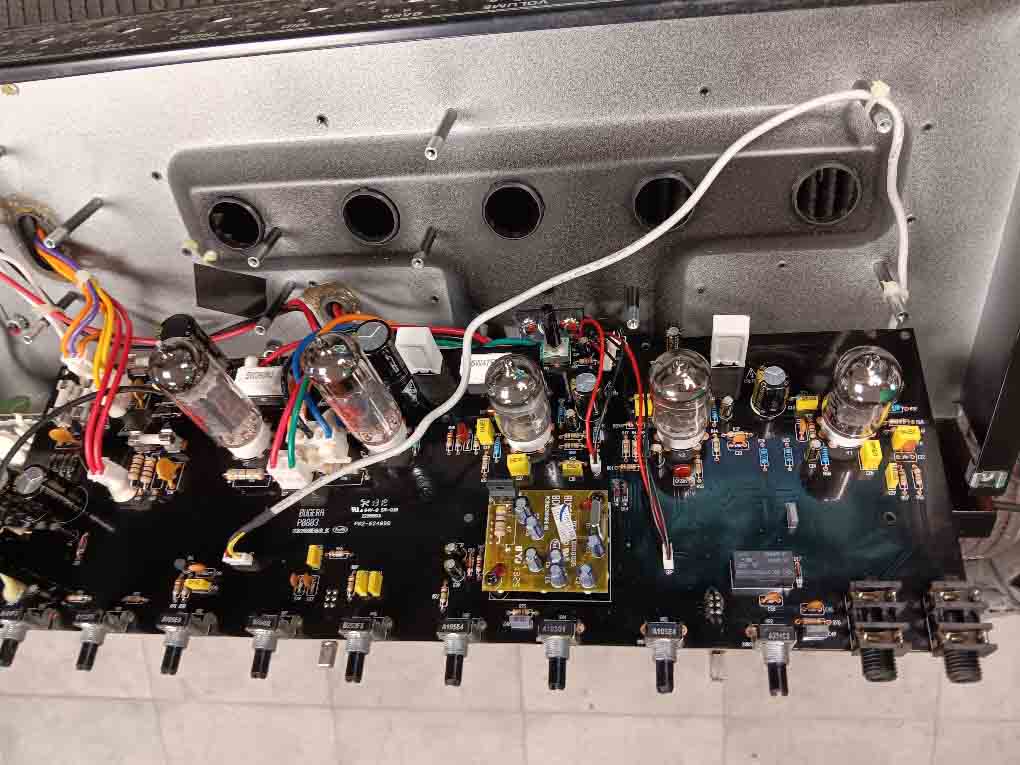
With the chassis out, we could see that the PCB had swollen burn marks as a result of two 47R 5 Watt resistors having become very hot. Also noted that one of the output valves (EL84s) looked as if it had a hard life.
Looking at the schematic, the two 47R resistors were in series with the heaters of the three 12AX7 valves in the pre amp and phase splitter. Now in this amplifier, these heaters are fed from a +/- 25VDC supply that is used for the analog solid-state side of things. A bit annoying but I can understand why, saving on bulkier capacitors. With the power applied, voltage readings were all wrong across pins 4,5 of the 12AX7s. The first valve in the stage had much brighter heater glow? Looking at the schematic again, the first valve V1, had the heater center tap (pin 9), connected to chassis, the others were left in series, i.e. 12.6V working. Cutting a long story short, with three replacement 12AX7s in place restored normal working. Looking at the original three valves, I noticed that these were Russian 6NP2s. Now whilst these are sort of equivalents to 12AX7s, there is an important difference, making them non suitable for this amplifier design. The heaters across pins 4,5 are parallel wired with no center tap to pin 9. So, in this series heater circuit design, they cannot be used. There are other amplifiers that adopt a similar layout so beware. Also, the rated heater current is slightly different to that of the 12AX7s. A conversation with the owner revealed that these three valves had been changed by another technician, thinking they were causing the random noise. Nice to have been told that to start with.
Don’t assume!!…. With everything put back to as it should be, the amp was tested and even with the EL84 that looked a little sweaty, all was fine. The valve tested okay on the AVO and no other indication of faults. All assemble and a soak test. After 5 minutes, a harsh cracking noise appeared. Take it apart again and waited for the noise to come back. When it did, pulling out the 12AX7s one by one, showed that the noise was coming from the pre amp or phase splitter sections. After a lot of probing around with a can of freezer spray, the cause was traced to the reverb PCB module. The reverb IC looked as it if had been soldered by someone wearing a blindfold after having half a bottle of Gin. Removed and reflowed it correctly, restored happiness.
So, there we go. Beware of swapping 12AX7s with 6N2Ps!